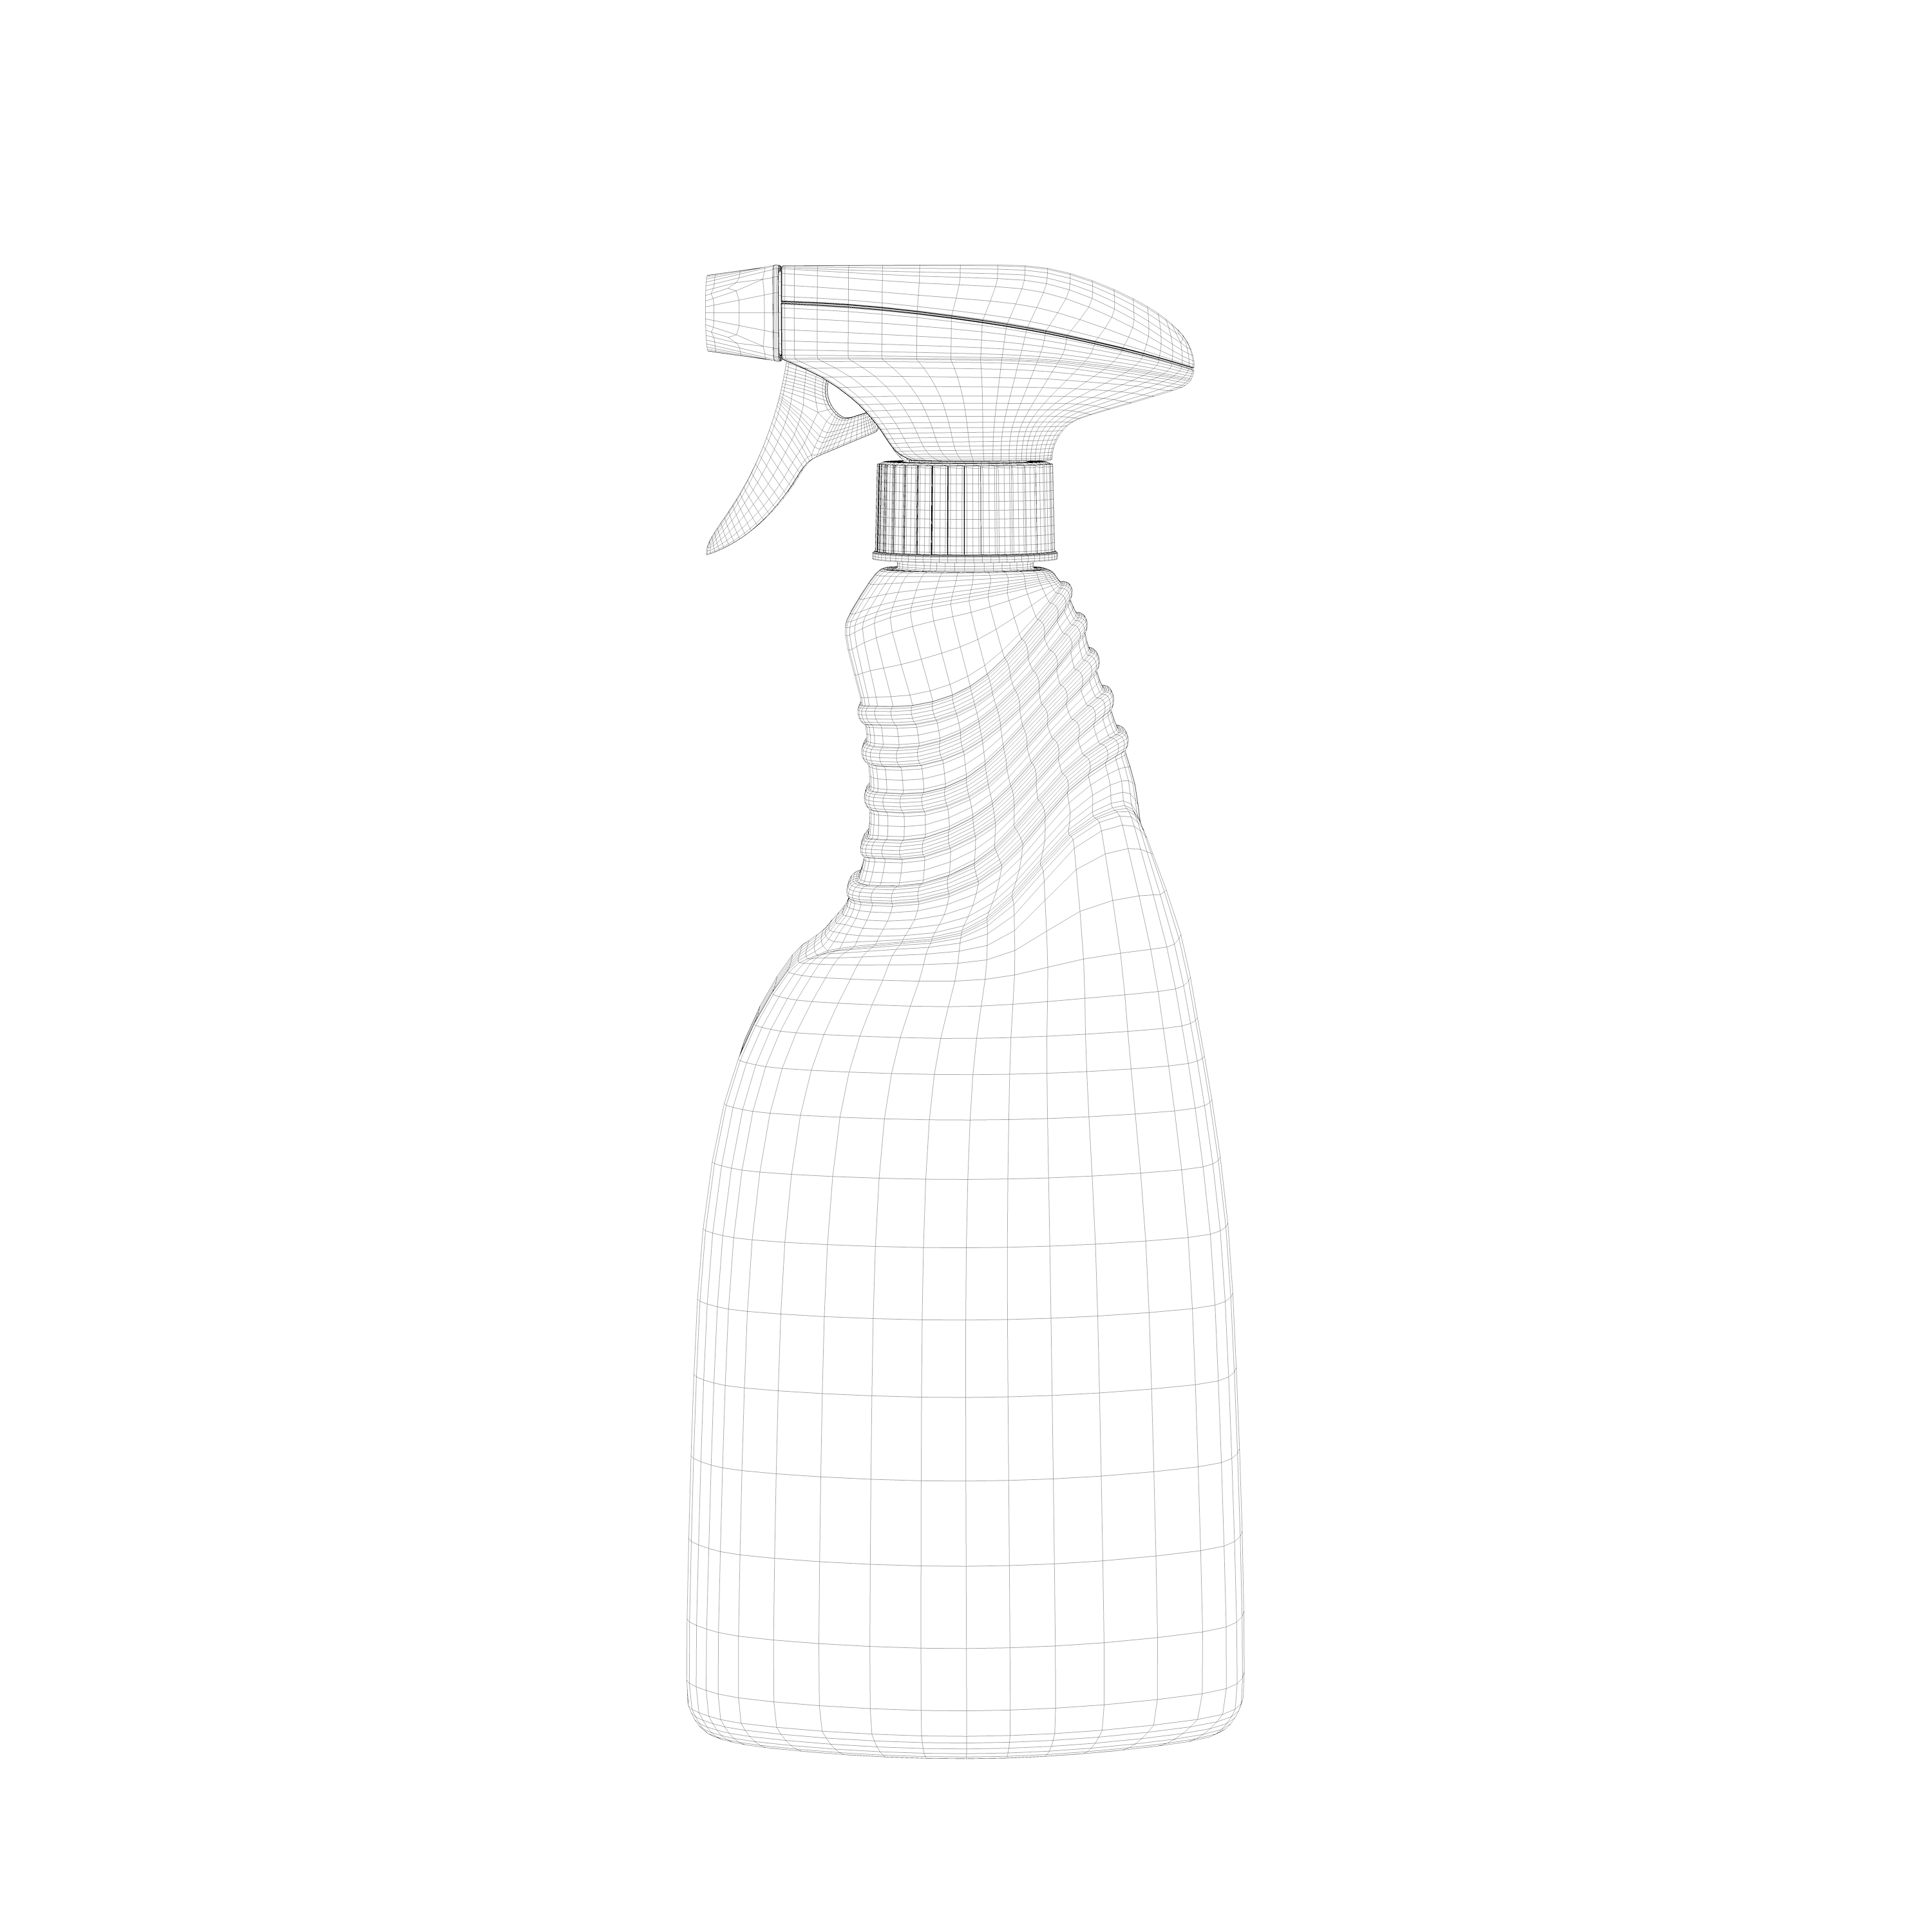
To create a great 3D packshot, you need several ingredients. One of those ingredients is a wire frame, also known as a wire model. A wire frame is, in fact, the skeleton of the 3D packaging. We have the most widely used wire frames available and ready for use in our 'shapes library'. If we don’t have the required wire frame in our library, we can easily make one by using the die cut (cutter guide) in your artwork. If the die cut isn’t available, we will create a wire frame based on a physical model or the AutoCAD file your packaging supplier made. At no extra cost! The wire frame is the basis of every packshot.
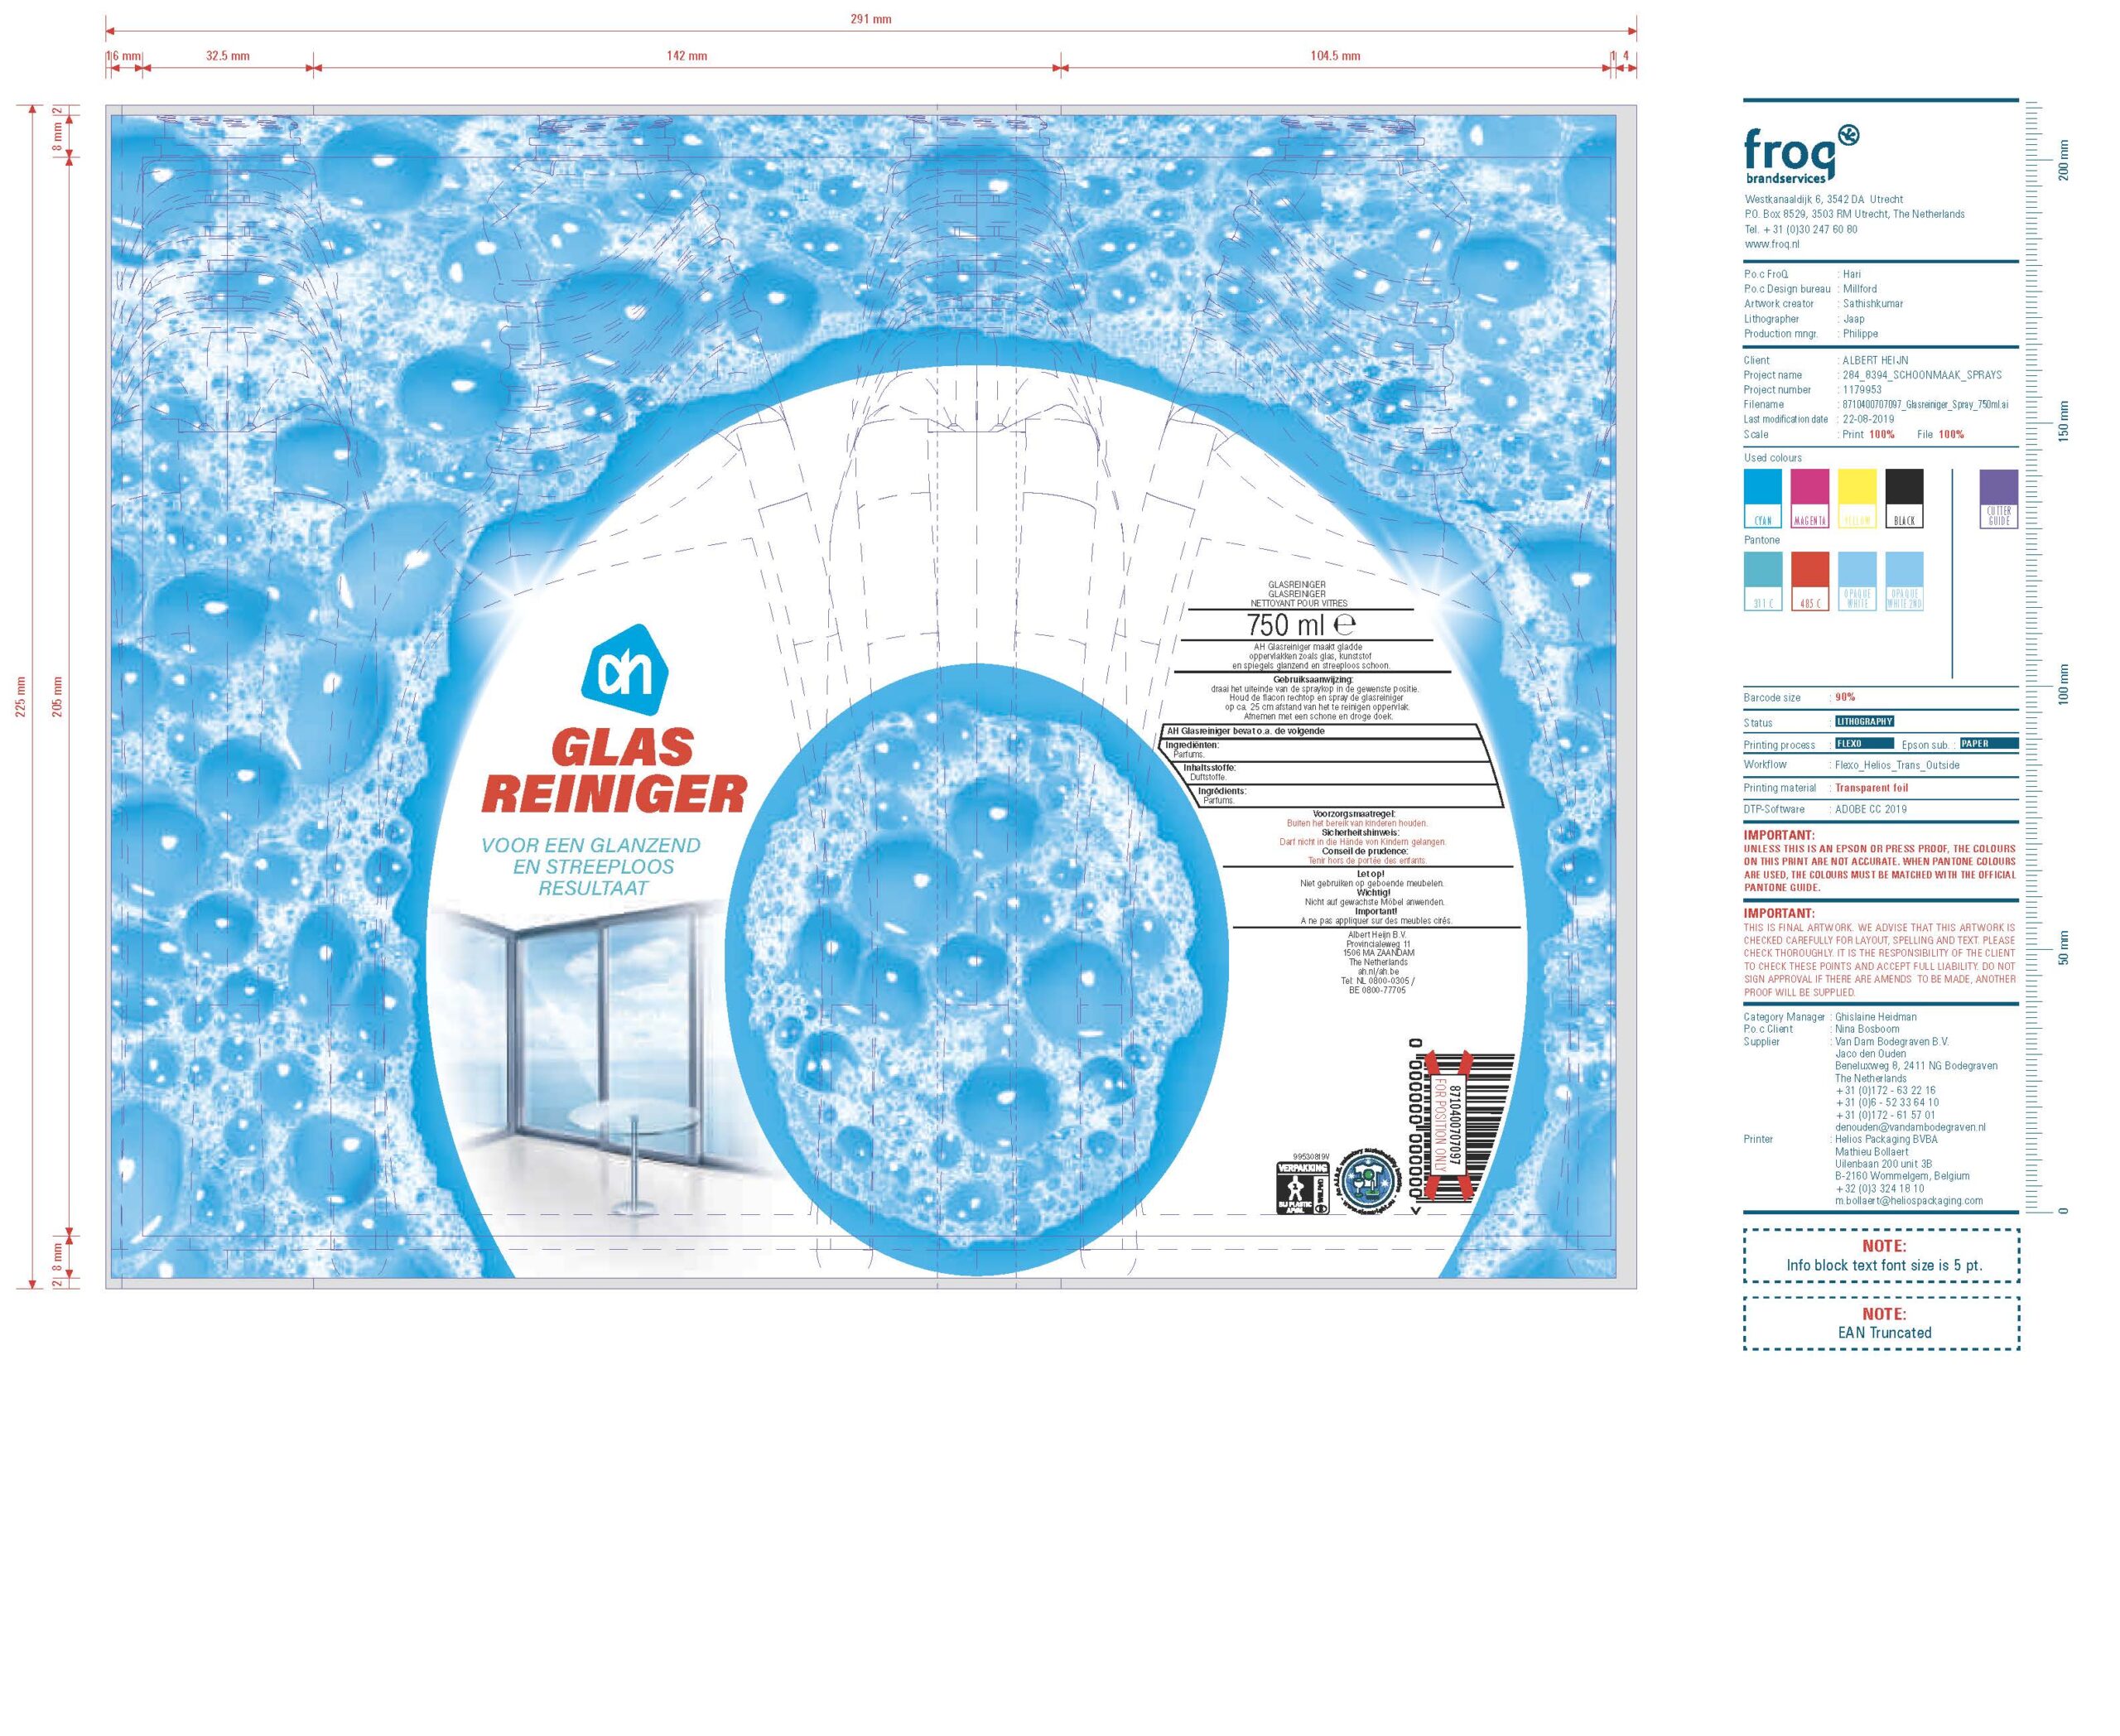
In addition to a wire frame, we also need the digital artwork or the drawing of the packaging to create a 3D packshot. That’s the 'skin' of the packshot, so to speak. The artwork is made by a packaging designer or a packaging design execution agency, such as FroQ Brandservices.
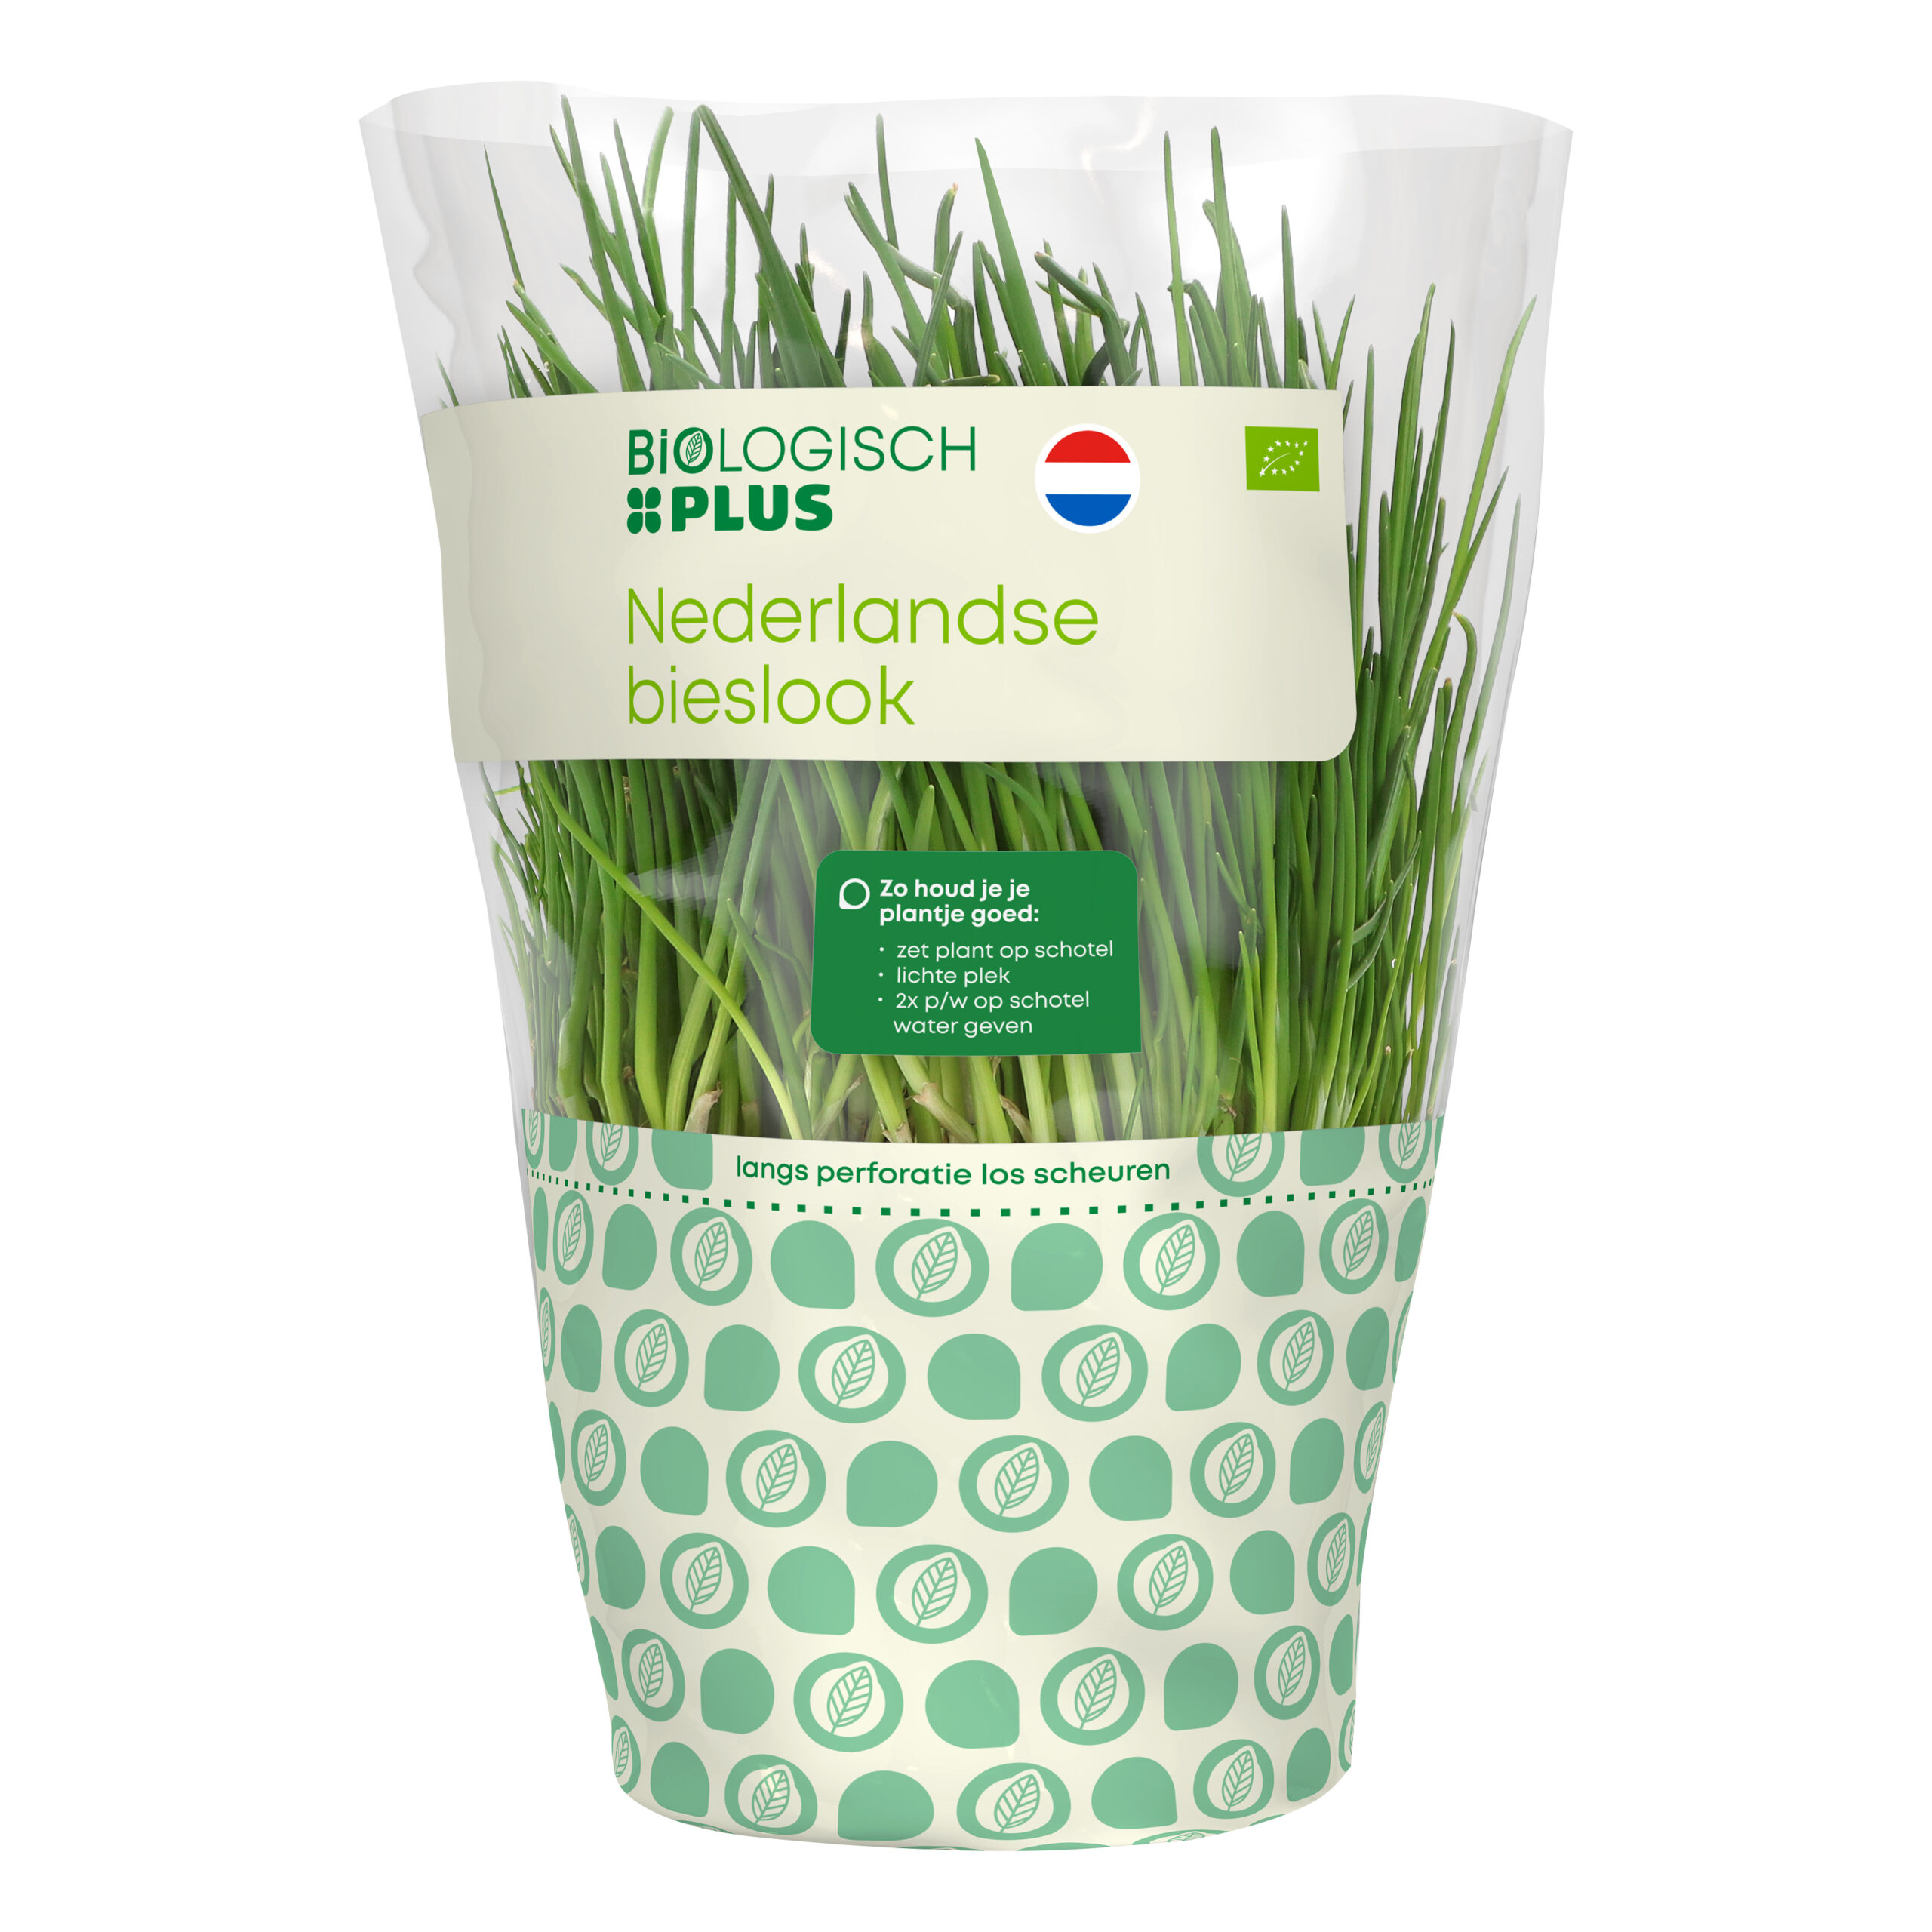
Sometimes the product itself is visible through the packaging. The packaging is transparent or has a window, for example. To be able to visualize this product in the 3D packshot, we need a physical sample of it. Based on the sample, we replicate the product in 3D. We can also take a picture of the product and use the image in the 3D packshot. When working with fresh products, we can draw extra attention to the product with food styling this way.
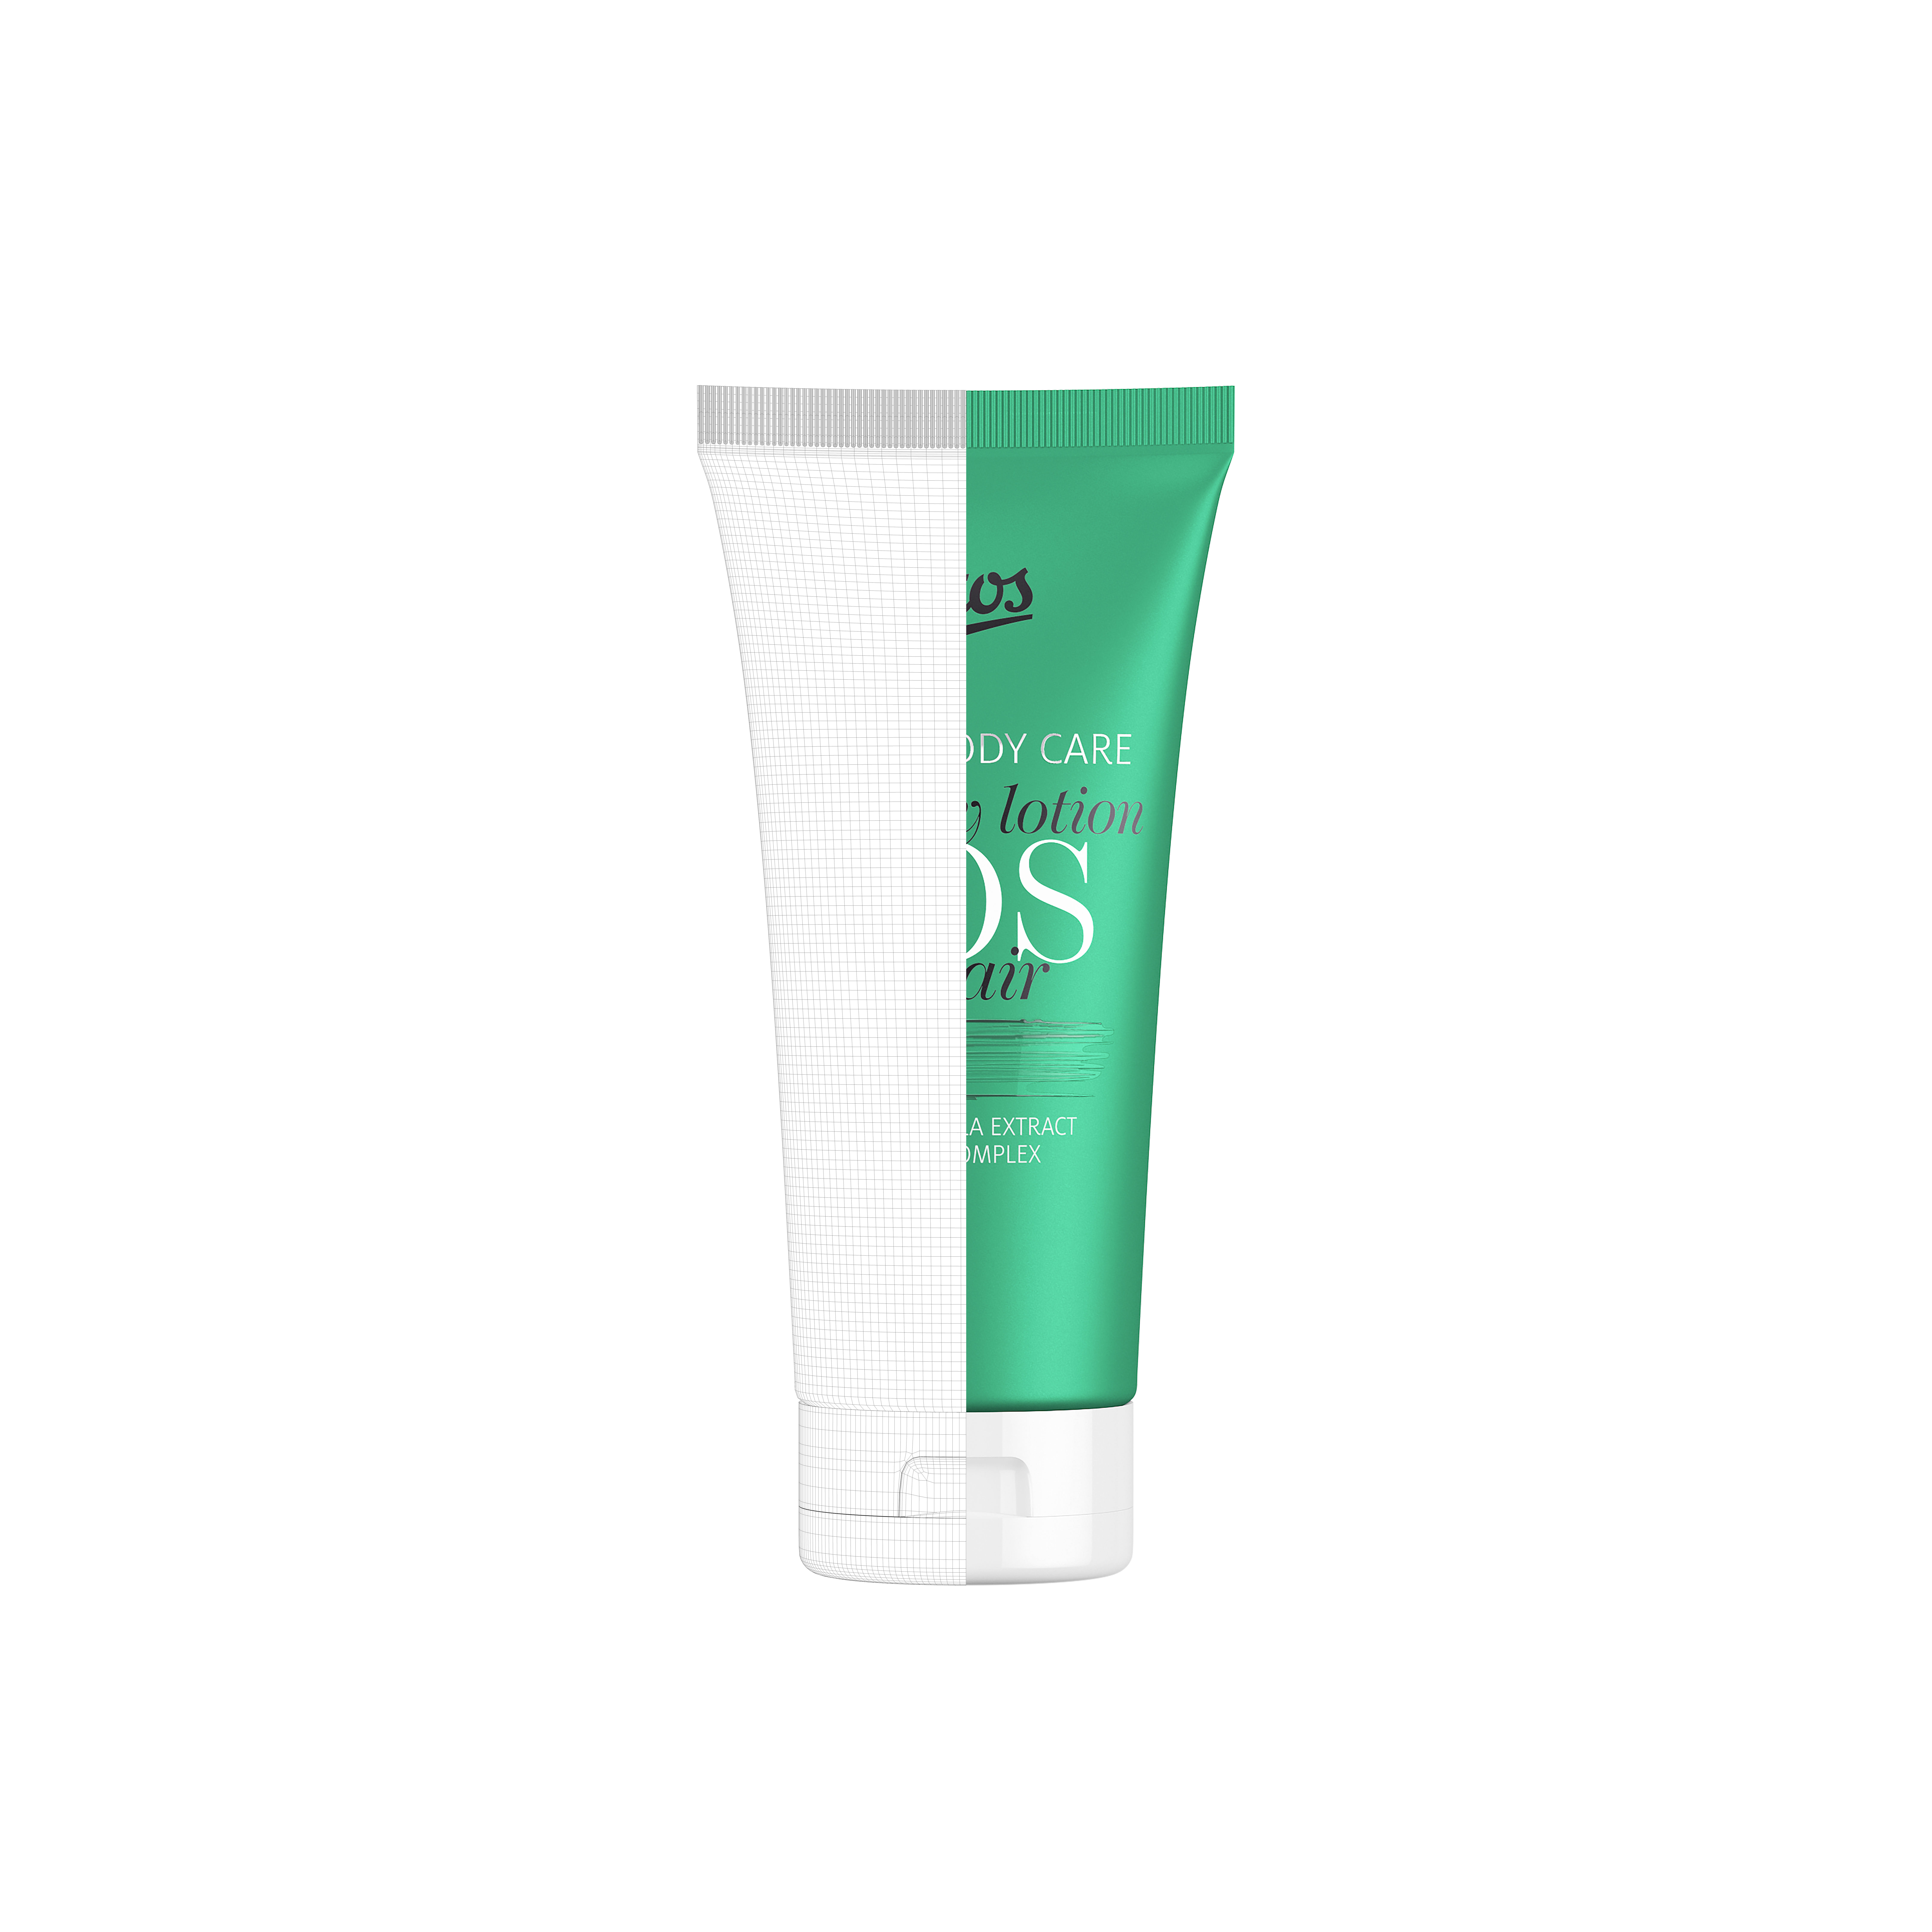
Once we have created the basic packshot using the wire frame, the artwork and the product image (if necessary), we start with the finishing touches. We make the packshot more realistic by adding attributes such as light, shadows, reflection, transparency, and material expression (material type, thickness, color, texture, seals, etc). The end-result is a beautifully rendered 3D packshot that can be shown from every possible viewing angle.
